A crack in a masonry wall rarely announces itself loudly. It starts small, almost easy to dismiss, and then expands quietly over months while moisture, freeze-thaw cycles, and structural stress do the rest. By the time most homeowners take action, the damage has already gone further than they realize. Understanding how to address it properly can save thousands in unnecessary repairs later.
Why Timely Masonry Wall Repair Is More Than Just Cosmetic
Masonry walls serve structural and protective functions. A compromised wall allows water infiltration, which accelerates deterioration from the inside out. Over time, moisture trapped in cracks causes spalling, freeze-thaw damage, and mortar erosion that can destabilize the entire wall.
Ignoring early-stage damage also tends to expand the scope of repairs needed. What might be a straightforward repointing job today can become a full wall reconstruction if left unattended through several wet seasons.
Signs Your Masonry Wall Is Telling You It Needs Attention
Horizontal cracks in a wall often indicate lateral pressure, commonly from soil buildup or hydrostatic pressure. Vertical or diagonal cracks typically indicate foundation settlement or thermal movement. Stair-step cracks running along mortar joints are one of the most common signs of differential settlement.
Other warning signs include mortar that crumbles when prodded, bricks or blocks that feel loose, white efflorescence staining on the surface, or visible gaps between the wall and adjoining structures. Any of these warrants a closer inspection before conditions worsen.
Identify the Type of Masonry Wall Before Doing Anything Else
Not all masonry walls are built the same, and the repair approach depends on the construction type. Brick, concrete block, stone, and stucco-coated masonry walls behave differently and require different repair strategies.
Brick walls are typically repaired through repointing or brick replacement. Concrete block walls may need crack injection, patching compound, or block replacement. Stone walls require matching mortar and careful attention to aesthetics. Knowing what you are working with prevents you from using the wrong product for the job, which can cause additional damage.
Tools and Materials You’ll Need for the Job
For basic crack repair and repointing, you will need a cold chisel, a margin trowel, a wire brush, a bucket and mixing paddle, hydraulic cement or pre-mixed mortar, and a masonry brush. Protective gear, including safety glasses and gloves are essential when working with chisels and masonry dust.
For larger structural repairs, you may also need an angle grinder with a masonry blade, anchor bolts, patching mortar, and a stiff-bristle scrub brush for surface preparation. Having the right tools upfront prevents mid-repair stops that can compromise cure timing and joint quality.
Step-by-Step Guide to Repairing Cracks in a Masonry Wall
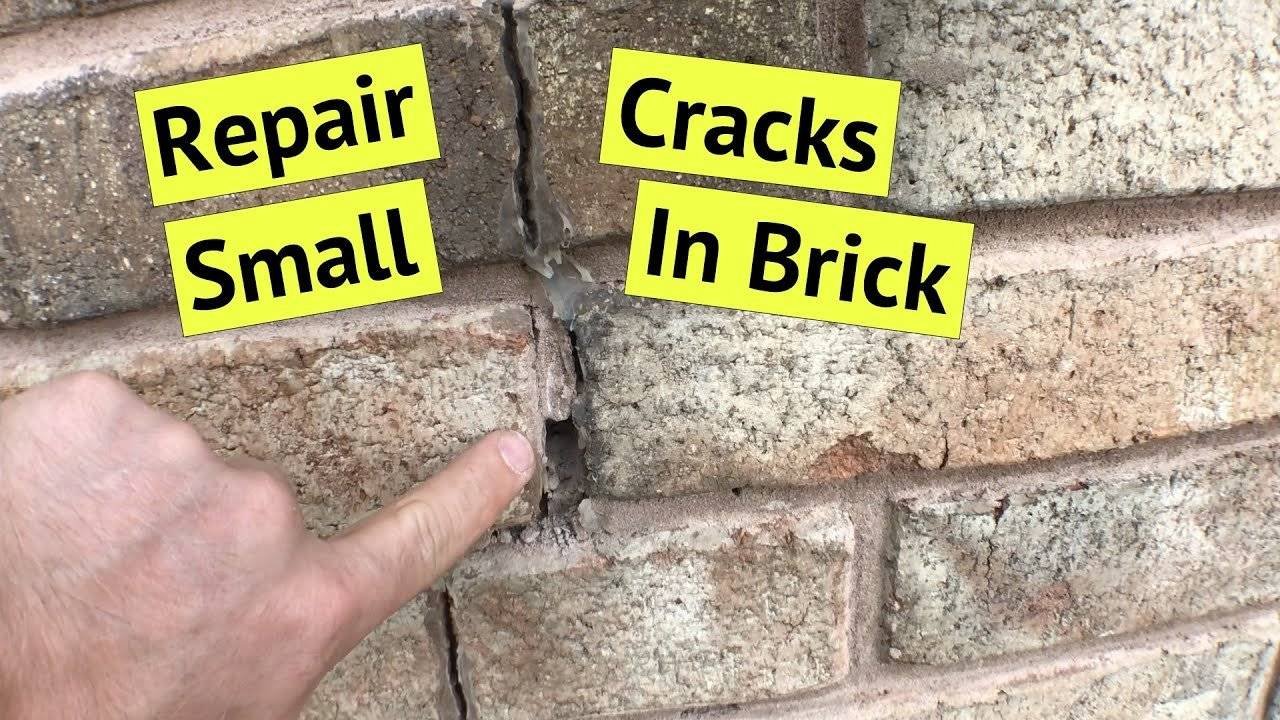
Start by cleaning the crack with a wire brush to remove loose debris, dust, and old mortar. For hairline cracks, a masonry crack filler or flexible sealant applied with a caulk gun is often sufficient. For wider cracks, chisel out the damaged area to create a uniform opening at least 3/4 inch deep.
Mix your repair mortar to a thick, peanut butter-like consistency and pack it firmly into the crack in layers, rather than all at once. Allow each layer to firm up before adding the next. Smooth the surface flush with a trowel, then lightly mist with water for the first few days to ensure a slow, strong cure.
Repointing Masonry Walls: How to Replace Old Mortar the Right Way
Repointing, also called tuckpointing, involves removing deteriorated mortar from between masonry units and replacing it with fresh mortar. Use a cold chisel or oscillating tool to cut out old mortar to a depth of about three-quarters of an inch. Take care not to damage the edges of the bricks or blocks.
Brush away all debris and dampen the joint before applying new mortar. Use a tuck pointer or margin trowel to press mortar firmly into the joint, working in small sections. Profile the joints to match the existing pattern, whether concave, flush, or another style, and allow to cure slowly away from direct sun.
Fixing Loose or Damaged Bricks and Blocks
A loose brick must be removed, cleaned, and reset with fresh mortar. Chip away the old mortar from both the brick and the cavity using a chisel and hammer. Clean both surfaces thoroughly, then apply a fresh bed of mortar to the cavity and butter the brick before pressing it firmly back into place.
Damaged or spalled bricks that cannot be salvaged should be replaced with matching units. Finding a close material and color match is worth the effort, especially on a visible wall. After setting, repoint the surrounding joints to ensure the repair blends structurally and visually.
How to Stop Water Damage and Future Cracking
After completing repairs, applying a penetrating masonry sealer is one of the most effective steps to prevent future water infiltration. Sealers allow the wall to breathe while blocking moisture from entering the surface. Avoid using film-forming sealers on brick, as they can trap moisture and accelerate spalling.
Grading soil away from the base of a wall, maintaining gutters and downspouts, and addressing any pooling water near the foundation all reduce hydrostatic pressure that can lead to cracking. These are low-cost preventive measures that significantly extend the life of a masonry wall.
DIY vs Professional Masonry Wall Repair: When to Call an Expert
Minor cosmetic cracks and routine repointing are reasonable DIY projects for a homeowner comfortable with basic masonry tools. If the cracks are small, the mortar is isolated, and the wall appears otherwise stable, a motivated DIYer can handle the work.
Structural cracks, cracks that reappear after repair, significant water intrusion, leaning walls, or extensive spalling are all signs that a licensed masonry contractor should be involved. These conditions often indicate underlying issues that require professional diagnosis and repair methods beyond what surface patching can address.
Common Mistakes That Make Masonry Repairs Worse
One of the most frequent mistakes is using the wrong type of mortar. Portland cement mortars that are too hard can actually damage older, softer bricks by creating stress that causes the brick face to crack rather than the joint. Always match mortar strength to the masonry material.
Other common errors include skipping surface preparation, applying mortar in extreme heat or freezing temperatures, and failing to keep new mortar damp during curing. Rushing the curing process weakens the repair and often leads to cracking within the first season. Taking the time to do each step correctly the first time is always more cost-effective than redoing it.
Wrapping It Up
Masonry wall repair is part craftsmanship, part problem-solving. The right diagnosis, materials, and technique make all the difference between a repair that holds for decades and one that fails after the first winter. For homeowners who want the work done properly from the start, Promaster Maintenance Corp offers professional masonry repair and restoration services throughout New York.