A cracked sidewalk is often noticed but rarely addressed quickly. It starts with a hairline fracture after one harsh winter, then widens, heaves, or crumbles through the next. Before long, what was a minor cosmetic issue becomes a trip hazard with potential liability and a repair bill that could have been much smaller if caught earlier.
Why Concrete Sidewalks Crack in the First Place
Concrete is strong under compression but relatively brittle under tension and movement. The most common culprit behind sidewalk cracking is the freeze-thaw cycle. Water seeps into small voids in the concrete, freezes, expands, and widens those voids over time. After several seasons, this process causes significant surface and structural deterioration.
Tree roots are another major cause, particularly on older sidewalk sections. As roots grow beneath the slab, they push sections upward, creating raised lips and wide fractures. Inadequate base preparation during the original installation, heavy vehicle traffic, and subbase erosion also contribute to premature cracking.
Reading the Cracks: What Each Type Tells You
Not every crack means the same thing. Hairline surface cracks are usually the result of minor shrinkage or surface drying and rarely indicate structural issues. These can often be sealed and stabilized without major intervention.
Wide cracks with displacement, meaning one side of the crack is higher than the other, indicate slab movement, often from tree roots or subbase erosion. These require more than patching. Spiderweb or map-cracking patterns, known as crazing, usually indicate surface scaling from deicers or a poor finish during the original installation. Identifying crack type before starting repairs ensures you choose the right fix.
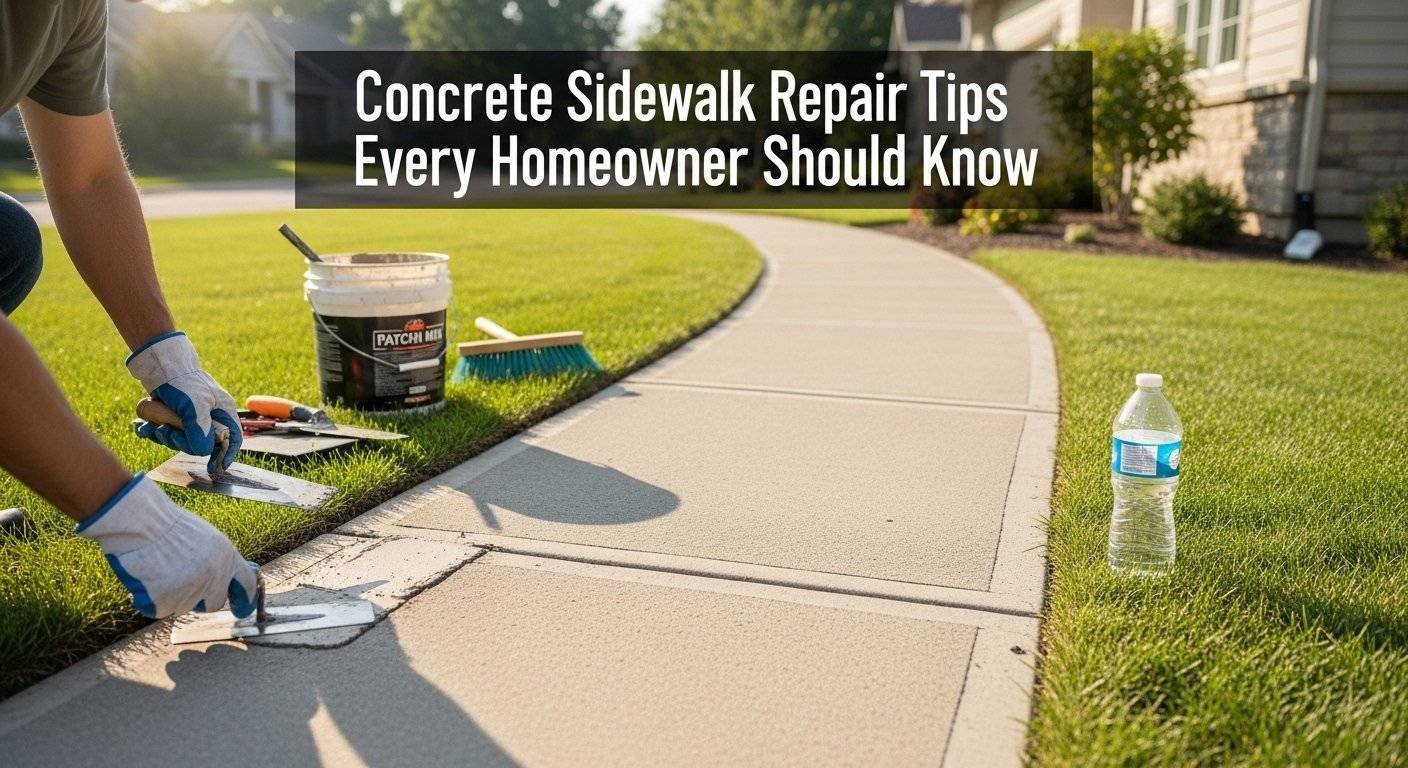
Tools and Materials to Have on Hand Before You Start
A basic concrete repair kit includes a cold chisel, hammer, wire brush, safety glasses, a concrete patching compound or hydraulic cement, a trowel, and a bucket. For larger repairs, a concrete grinder or angle grinder with a diamond cup wheel helps prepare surfaces properly.
Concrete bonding adhesive is recommended for use on clean surfaces before applying any patch to improve adhesion. If the repair involves a raised slab section, you may also need a floor grinder to grind down high lips, though this is typically best handled professionally to avoid tapering unevenly.
Step-by-Step: How to Repair Minor Concrete Cracks
Start by cleaning the crack thoroughly. Use a wire brush or chisel to remove loose concrete, dirt, and debris. Widen very narrow cracks slightly to give the repair material something to grip. Rinse the crack and let it dry completely before applying any filler.
For cracks up to a quarter inch wide, a concrete crack filler applied via bottle or caulk gun works well. For wider cracks, mix a polymer-modified concrete patching compound to a stiff consistency and pack it firmly into the crack with a trowel. Feather the edges flush with the surrounding surface and allow to cure according to the manufacturer’s instructions, keeping the area moist for the first 24 to 48 hours.
Fixing Raised, Sunken, or Uneven Sidewalk Sections
Uneven sidewalk sections require a different approach than simple crack filling. Raised slabs caused by tree roots can sometimes be ground down to remove the lip, which is a quicker and less disruptive fix than full replacement. However, if the root continues to grow, the problem will return.
Sunken slabs caused by subbase erosion can sometimes be lifted using slabjacking (mudjacking), in which a slurry is pumped beneath the slab to raise it back to grade. Polyurethane foam lifting is a newer, lighter alternative with a faster cure time. Both approaches are significantly less expensive than full slab replacement when the concrete itself is otherwise in good condition.
When Full Sidewalk Slab Replacement Makes More Sense
Patching has limits. If a concrete section is heavily spalled, severely cracked across most of its surface, crumbling at the edges, or has settled more than an inch out of plane, replacement is more cost-effective than patching. Putting money into a compromised slab rarely produces lasting results.
Replacement involves saw-cutting and removing the old section, regrading and compacting the subbase, installing new formwork, pouring fresh concrete, and finishing the surface. Proper curing after the pour is critical. New concrete should be kept moist and protected from extreme heat or cold for at least seven days.
Concrete Sealing: The Step Most Homeowners Skip
Sealing repaired or newly poured concrete is one of the most effective ways to extend its life. A quality penetrating concrete sealer repels water and deicers, the two things most responsible for surface degradation over time. Most sealers need to be reapplied every two to three years, depending on traffic and climate exposure.
Apply sealer to a clean, dry surface using a roller or sprayer, working in thin, even coats. Avoid applying in direct sun or high heat, as this causes uneven absorption. Sealing alone will not fix existing damage, but it significantly slows the rate of new damage on repaired or new surfaces.
DIY Sidewalk Repairs vs Hiring a Concrete Contractor
Small, isolated cracks in otherwise sound concrete are good candidates for DIY repair. If the damage is contained, the surface is structurally stable, and you’re comfortable with basic masonry tools, there is no reason you can’t handle it yourself. The cost savings are real, and the repair process is straightforward.
Larger repairs, displaced or sunken slabs, areas near the foundation or the public right-of-way, and any section that poses a trip-hazard liability are situations where a licensed concrete contractor adds real value. They have the equipment for surface grinding, slab lifting, and full replacement that most homeowners don’t have access to.
Preventing Sidewalk Damage Before It Starts
Prevention is the most cost-effective sidewalk maintenance strategy. Avoid using rock salt or chloride-based deicers directly on concrete surfaces during winter. These products accelerate surface scaling, particularly on concrete less than a year old. Use sand for traction, or switch to a magnesium chloride or calcium magnesium acetate product, which is far less damaging.
Sealing concrete before winter, keeping tree roots trimmed back where they encroach on hardscape, and ensuring downspout water does not drain onto walkways all contribute meaningfully to sidewalk longevity. A properly maintained sidewalk in a northern climate can last 30 to 40 years before needing replacement.
Wrapping It Up
Concrete sidewalk repair doesn’t have to be overwhelming. Understanding what caused the damage, choosing the right repair method, and following through with proper curing and sealing are the steps that separate a lasting fix from one that fails by next spring. For professional sidewalk repair and concrete restoration in New York, Promaster Maintenance Corp delivers the quality and durability your property deserves.