
Walkway Paving Bay Shore: Front Walkways & Concrete Paths
First Impressions Start at the Curb A Cracked Walkway Is a Liability You Don't Need
A walkway does more work than most homeowners give it credit for. It guides foot traffic, manages water runoff, and sets the tone for the entire front of a property. When it’s done right, you don’t notice it. When it’s done wrong, heaving slabs, settled pavers, edges crumbling from salt exposure, it shows every day.
We design and install walkways across Bay Shore that hold up to the coastal environment, look intentional, and stay level through the seasons.
Walkway Materials That Works at Bay Shore
Not every material performs the same in a coastal setting. Salt air, ground moisture, and freeze- cycles narrow the field. Here’s what we work with and why:
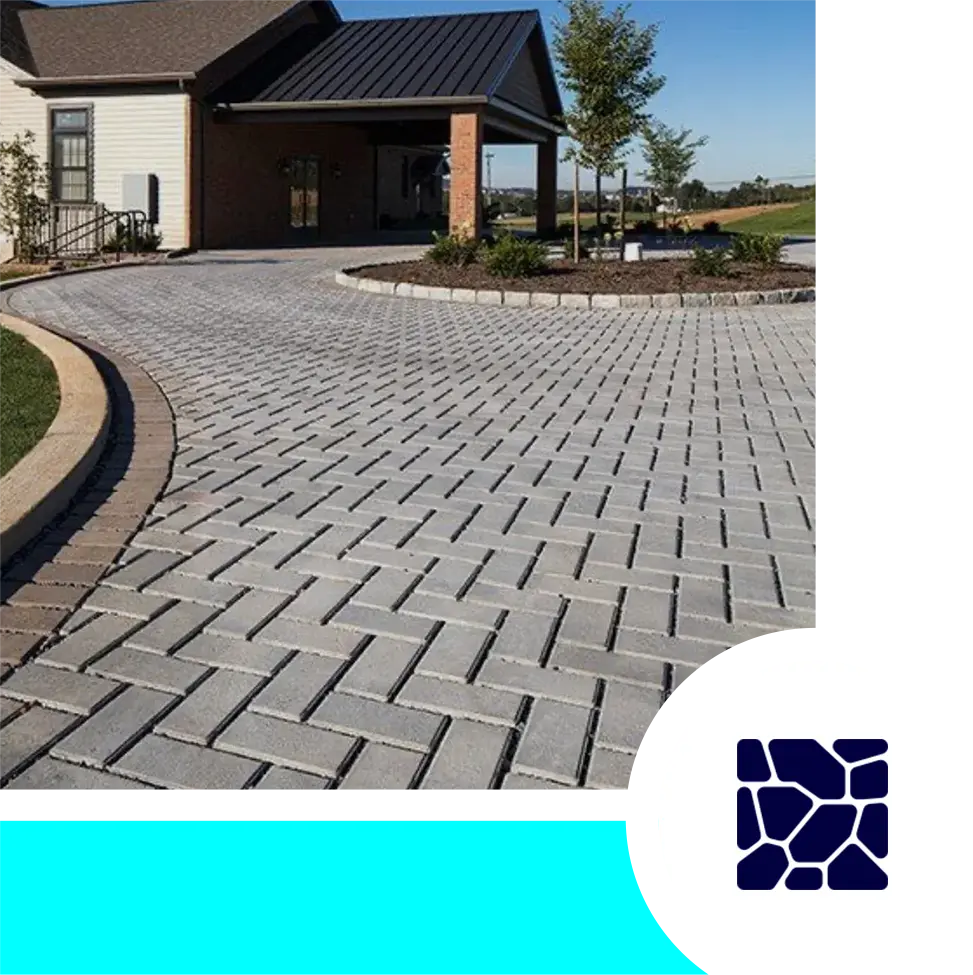
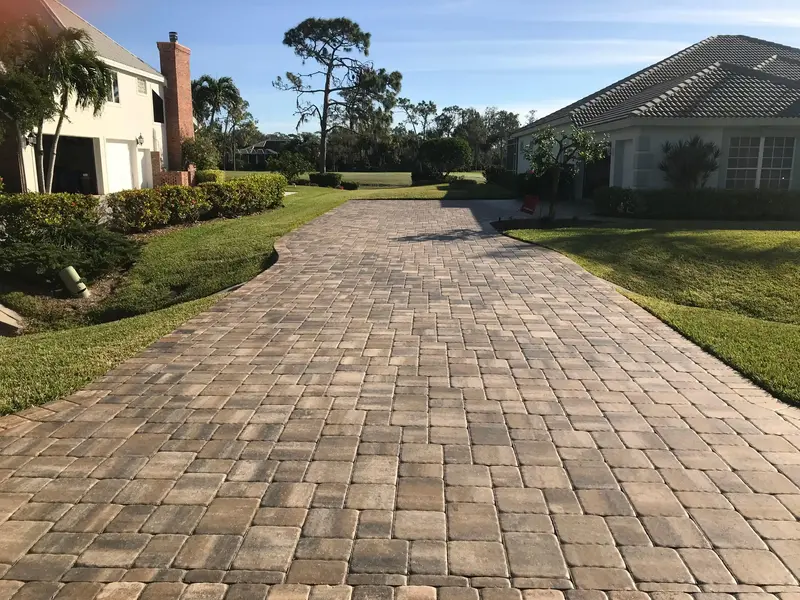
Concrete Pavers The most practical choice for most residential walkways. Individual units mean localized repairs, one damaged paver gets replaced, not the whole path. They handle freeze-thaw movement better than poured surfaces, and the range of shapes, colors, and patterns is wide enough to suit any home style.
Poured Concrete Solid, clean, and lower maintenance than pavers short term. Works well for straight runs and contemporary homes. The limitation is cracking, poured concrete in a freezing environment will eventually crack, and repairs are more visible than swapping a single paver. Proper joint placement and base preparation extend its life significantly.
Natural Stone Bluestone, flagstone, and limestone all make excellent walkways, they age well, look premium, and add property value. The trade-off is cost and installation complexity. Irregular flagstone needs careful layout to stay level over time. When installed correctly, it’s the best-looking option available.
Brick Classic and durable when properly installed. Brick needs more base preparation than pavers because individual units are thinner. Salt air can affect the face over time without sealing. Best suited for traditional home styles where the look matches the architecture.
Front Walkway Construction
Front walkway construction bay Shore starts with the ground, not the surface material. The base determines whether a walkway stays level, drains properly, and survives winter without heaving.
Our Installation Process:
- Excavation to correct depth for base and chosen surface
- Compacted gravel base, thickness based on soil conditions and material above
- Slope set for drainage away from the home’s foundation
- Edge restraints installed before surface material goes down
- Surface installed to spec for the material type
- Jointing, sealing, and final grade check before closeout
Slope is the detail most homeowners miss until there’s a puddle sitting against their foundation after every rain. A quarter inch of fall per foot drains water away cleanly, we set it right from the start.
Concrete Walkway Installation
Concrete walkway paving bay shore, poured concrete done properly in a coastal environment requires a few things that aren’t optional:
- Correct mix design for ground moisture and freeze-thaw exposure
- Control joints placed at intervals matching slab dimensions, allowing the concrete to crack predictably rather than randomly
- Proper curing time before the surface takes foot traffic
- Sealing after cure, unprotected concrete in salt air absorbs moisture and deteriorates from the inside
Most concrete failures we see spalling, random cracking, surface scaling, trace back to one of those four points being skipped. Getting them right isn’t complicated. It just requires paying attention.
Walkway Design Considerations
Walkway paving bay shore projects range from straight runs to curved paths with steps, borders, and lighting. A few things we assess on every job:
- Width: 36 inches is a functional minimum. 48 inches lets two people walk side by side. Entry walkways for larger homes often go wider.
- Street transition: How the walkway meets the curb or driveway affects drainage and long-term edge stability.
- Steps: Grade changes need risers and treads sized correctly. The proportions affect how naturally someone walks the path.
- Lighting: Low-voltage path lighting integrated at installation looks far cleaner than fixtures added after the fact.
- Border treatment: A soldier course in a contrasting paver defines the edge and adds a finished look without adding much cost.
Our Clients Google Reviews
Get a Walkway Quote
A well-built walkway adds to a home every day, practically and visually. A poorly built one costs more to repair than it would have to install correctly the first time.
NY Masonry Paving designs and installs walkways throughout Bay Shore and the surrounding area. We’ll look at your property, talk through material options that suit your home and budget, and give you a straight quote.
Contact us today to schedule a walkway consultation.
Frequently Asked Questions
How long does a walkway installation take?
Most residential walkways take one to two days for installation, plus cure or set time depending on material. We give a realistic timeline before work starts.
Do I need a permit for a walkway in Bay Shore?
For most residential walkways, no permit is required. Projects that affect drainage or fall within certain setbacks may need one. We check before starting and pull permits where required.
How do I maintain a paver walkway?
Sweep it, keep debris off it, and reseal every two to three years. If a paver settles early, fix it before adjacent units are affected. Stabilizing sand in the joints helps keep weeds out.
What causes walkways to heave or crack?
Almost always a base issue, insufficient compaction, inadequate depth, or poor drainage allows frost to push material upward. Proper base preparation at installation prevents most of it.